How to use React toastify for notifications - Next.js
React toastify is a js library that allows you to notify your clients so that they are aware that something was happened when they clicked on a button.
In this tutorial, we will explain how to make it work with React based Framework Next.js and how to configure toasts (notifications) types , hide progress bar, and close the toast automatically after an amount of time
By following this tutorial you will be able to create your own toast exactly like this link and see the toast showing up each time you click on the link
Install react-toastify
First, we neeed to install the package, to do so:
npm i react-toastify

yarn add react-toastify
Import react-toastify
Next, to use the toast for notifications, we import it in our js files,
Create a sample page in pages/test.js and copy the below
import {toast} from 'react-toastify';

export default function Test() {
	const onClick = () =>
		toast('Toast is good', {
			hideProgressBar: true,
			autoClose: 2000,
			type: 'success'
		});

	return <button onClick={onClick}> Click Me</button>;
}
Import react-toastify container and css style
Next, we need to import global container and styles for react-toastify so it appears correctly on top right of screen, we can customize the toast position also.
create the file pages/_app.js or add this line if it is already created, this is Next.js custom app for use.
import 'react-toastify/dist/ReactToastify.css';
import {ToastContainer} from 'react-toastify';

// your custom app
//Toast container should be rendered on each page
function MyApp({Component, pageProps}) {
	return (
		<>
			<Component {...pageProps} />
			<ToastContainer />
		</>
	);
}
Now let’s test our page
Test the configuration
Hit http://localhost:3000/test, and click on the button click me
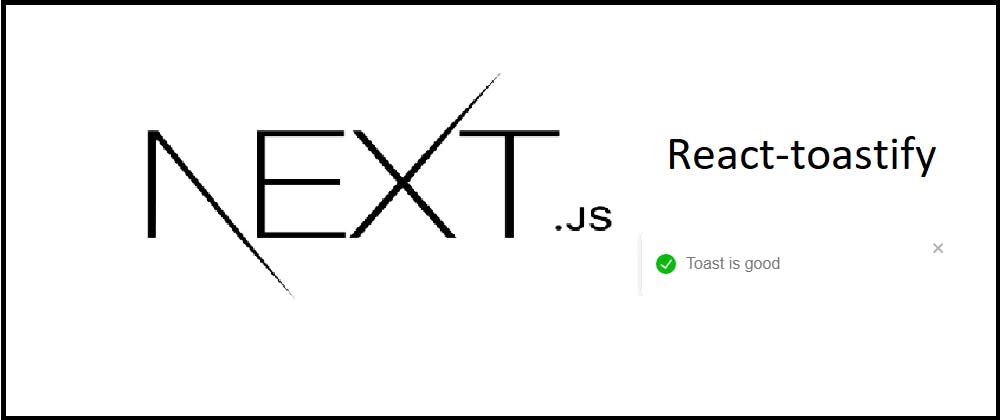
The taost will look like

You can try it live as well on this link
Customize react-toastify
It is possible to customize the toast in different ways, for example
Place the toast on the bottom right
Use the property position for placing the toast
toast('Toast is good', {
	hideProgressBar: true,
	autoClose: 2000,
	type: 'success',
	position: 'bottom-right'
});
This will place the toast on the bottom right, you can also set it on top-right, top-center, top-left, bottom-right, bottom-center or bottom-left
Auto close after an amount of milliseconds
Use the property autoClose for and specify how milliseconds to close after , below the toast will be closed after one second
toast('Toast is good', {
	hideProgressBar: true,
	autoClose: 1000,
	type: 'success',
	position: 'bottom-right'
});
Toast types
Toast property type can be either success, so a green OK will show up, Red notification will show in case of error and so on.
The full list is : info, success, warning, error or default
this one below will show up an error
toast('Toast is good', {
	hideProgressBar: true,
	autoClose: 2000,
	type: 'error',
	position: 'bottom-right'
});
Conclusion
We have seen how to add react-toastify to Next.js and how to customize it so it fits our need.
I recommend also to check:
How to set react toastify in react based app [in this link][4]
