How to drag and drop files to firebase in Next.js [easy guide]
![Cover Image for How to drag and drop files to firebase in Next.js [easy guide]](/_next/image?url=%2Fassets%2Fblog%2Fnext%2Fnext-firebase-reactdropzone.webp&w=3840&q=75)
In this tutorial, we are going to present the steps on how to easily implement a drag and drop file using react dropzone and firebase as a cloud storage in a react based project like Next.js, and how to display these files on browser.
Create project in firebase
In our demonstration we are going to use firebase as a cloud storage, but you can use any cloud provider of your choice.
First you need to create a new project in firebase, to do it, visit google firebase console in this link, and then setup your project, if you have trouble doing it, there is a full tutorial provided by google where they walk through each step in details in this link
Get your firebase config
Once finishing setup your project in firebase, click on your project
On the top left side you should see Project overview, next to it there is a gear icon delimited in red lines as the picture is showing

Click on it and choose Project settings , scroll down and you must see your firebase config down which we will use next.
Next, install firebase in your project using npm or yarn
npm i firebase
yarn add firebase
Create components/firebase.js and copy the firebase config into this file
We also need to add the storage, so we can upload and download files
We added it using getStorage as the code below is showing
import {initializeApp} from 'firebase/app';
import {getStorage} from 'firebase/storage';

const firebaseConfig = {
	apiKey: 'key',
	authDomain: 'domain',
	projectId: 'projectId',
	storageBucket: 'myBucket',
	messagingSenderId: 'senderId',
	appId: 'appId'
};

// Initialize Firebase
export const app = initializeApp(firebaseConfig);
export const storage = getStorage(app);
Great, now our app is connected to firebase and we simply can use the storage to upload and download our files
Use react dropzone
Now, let’s install react dropzone, which provides the capability of dragging files using React
To install it using npm or yarn use
npm i react-dropzone
yarn add react-dropzone
Create Drop and drag file page
Next, let’s create our page
pages/test.js
import {useCallback, useState} from 'react';
import {useDropzone} from 'react-dropzone';
import {storage} from '../lib/firebase.js';
import {ref, uploadBytesResumable, getDownloadURL} from 'firebase/storage';

export default function DropResume({message}) {
	const [spin, setSpin] = useState(false);
	const [downloadUrl, setDownloadUrl] = useState('');

	const onDrop = useCallback((acceptedFiles) => {
		setSpin(true);
		const file = acceptedFiles[0];
		const mountainsRef = ref(storage, 'easyapply/' + file.name);

		uploadBytesResumable(mountainsRef, file).then((snapshot) => {
			getDownloadURL(snapshot.ref).then((downloadURL) => {
				setDownloadUrl(downloadURL);
				setSpin(false);
			});
		});
	}, []);
	const {getRootProps, getInputProps} = useDropzone({onDrop});

	return (
		<div
			{...getRootProps()}
			className="flex justify-center m-2 border-2 rounded-lg p-4 "
		>
			<input {...getInputProps()} />
			<div>
				<div className="">
					{downloadUrl === '' ? <UploadIcon /> : <></>}
				</div>
				{spin ? (
					<div className="flex justify-center">
						<Spin />
					</div>
				) : (
					<>{message}</>
				)}
				{downloadUrl === '' ? (
					<></>
				) : (
					<div className="">
						<iframe
							src={downloadUrl}
							frameBorder="0"
							allowFullScreen
							height={'500px'}
							width={'100%'}
						></iframe>
					</div>
				)}
			</div>
		</div>
	);
}

export const Spin = () => (
	<div className="animate-ping -ml-1 mr-3 h-5 w-5 text-indigo-500">...</div>
);
export const UploadIcon = () => (
	<svg
		xmlns="http://www.w3.org/2000/svg"
		width="24"
		height="24"
		viewBox="0 0 24 24"
		fill="none"
		stroke="currentColor"
		strokeWidth="2"
		strokeLinecap="round"
		strokeLinejoin="round"
		className="h-4 w-4"
	>
		<path d="M13 2H6a2 2 0 0 0-2 2v16a2 2 0 0 0 2 2h12a2 2 0 0 0 2-2V9z"></path>
		<polyline points="13 2 13 9 20 9"></polyline>
	</svg>
);
The page contains a drag and drop icon, where you can either drag and drop, or click to upload your file, once the upload is done the document is displayed.
It contains also:
- An upload icon, so you can change the usual html input file No file chosen to a customized message or an an icon as we did here
- A spinner, which spins while the file is uploaded on firebase, once done, we use react state to display the file. If you would like to have different spinners, you can check out my article about them in this link
- firebase uploadBytesResumable, getDownloadURL to upload the file and get back the url which will be used to open the file in the cloud.
Test the configuration
Now, let’s see how this will turn out,
open http://localhost:3000/test and you should see

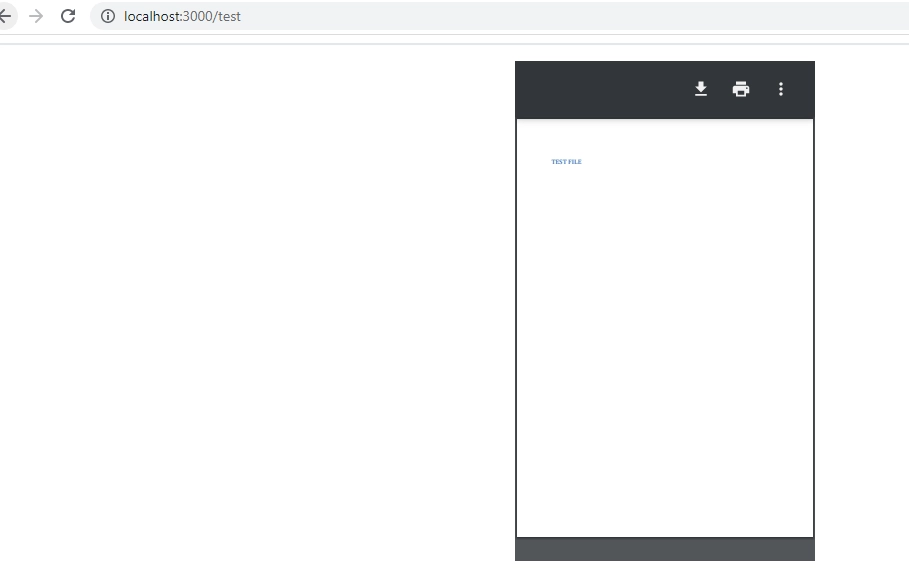
Now try to drag a file on this zone like a pdf file, you should see the three dots ping, and once upload finishes, the file can be viwed like so:
Conclusion
We have seen how to simply drag and drop files in a react based application like Next.js, and how to use firebase as a cloud storage to upload and download files.
We also present some tweaks so our upload look more professional like the spinner, and the upload svg image
